
Simple Table
In this example we will create a table which shows some selected items in one column and information about downstream items in others. It covers basic selection and configuration of fields being displayed. The result can be exported as a document or an excel sheet.
Note on working with these example
The easiest way to experiment with Formatters is to have two windows of Matrix open, with the a Document in one and the PRINT project in the other. Set up the Document with a Data Section, go into the layout dialog and select the new formatter.
You can now preview the formatter every time you save it, making it very fast to iterate over settings.
Precondition
Have a test project with a simple traceability, e.g. REQ → SPEC → TC with some items in the project
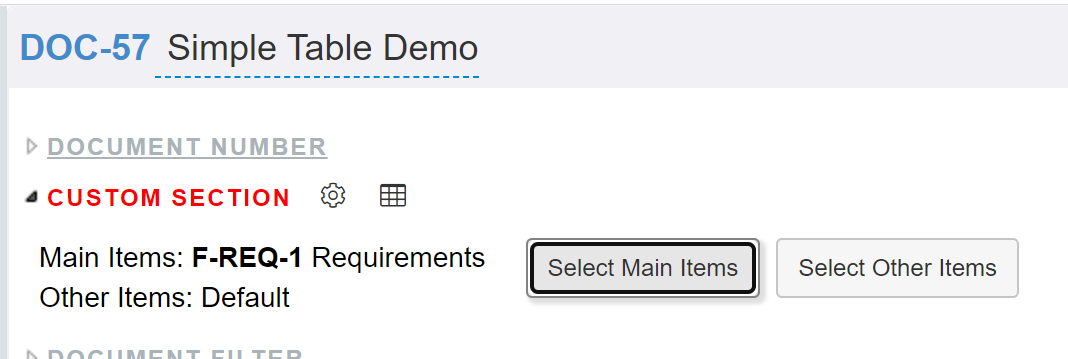
In that project. create a document with a custom section and select the REQ folder
Basic setup
Open the PRINT project
In the TABLE category create a new TABLE called “Simple Table”
Check the “Top Level Template”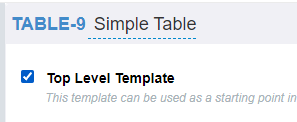
Open the new TABLE item and configure the following:
ITERATOR: Select “Children of folder” This will determine how your selection gets turned into table rows.

TABLE HEADERS: Create a table in the editor with 1 row, with the titles of your columns . Select all cells, right click, and in the menu select Cell → Cell Properties … and then change the cell type to “Header cell”

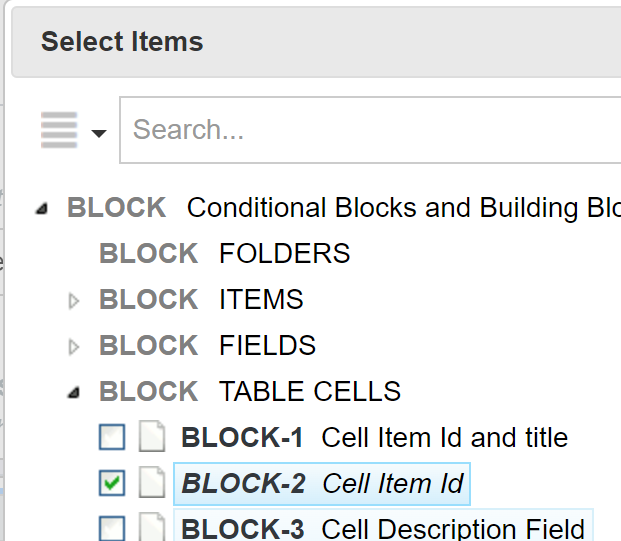
ITEM ROWS - CELLS: Click in the content column to add a row and select a BLOCK item showing the Hyperlink of an item
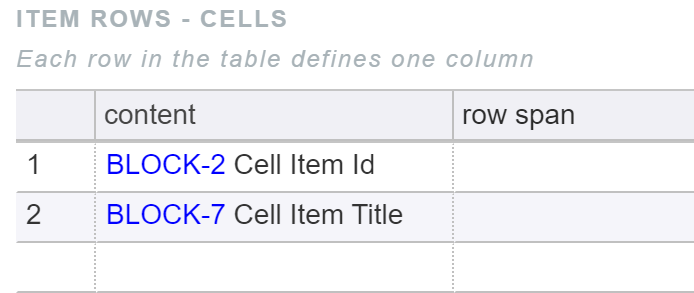
ITEM ROWS - CELLS: Add another row showing the Item Title

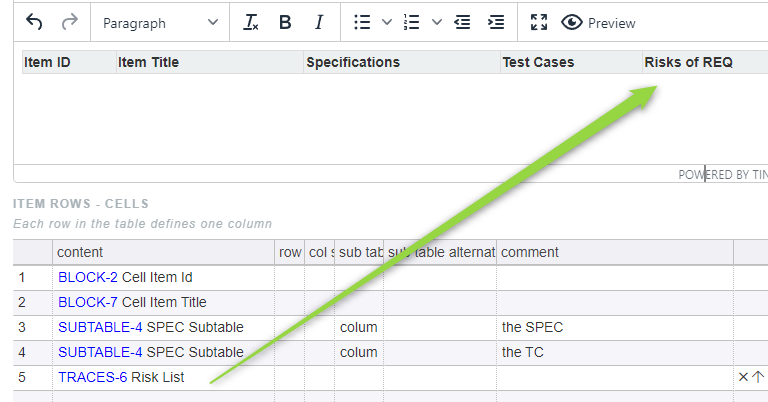
The ITEM ROWS - CELLS table will look something like this:
Save the changes and press the Layout button in the DOC item and select the new TABLE item
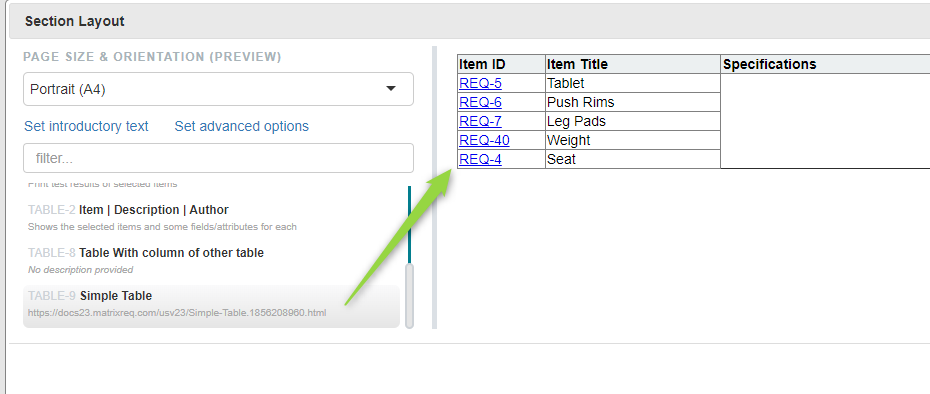
Linked Items
In the SUBTABLE Category create a new item called “SPEC Subtable”
Open the new SUBTABLE and configure the following
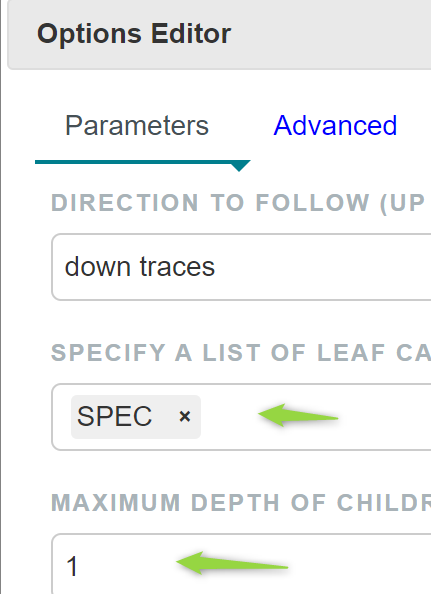
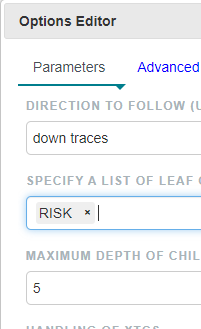
ITERATOR: Select “Links of item” In this case we want to follow the links of a given item, in this case the REQ

Edit the parameters of the iterator to only go down 1 level including all the referenced SPEC items
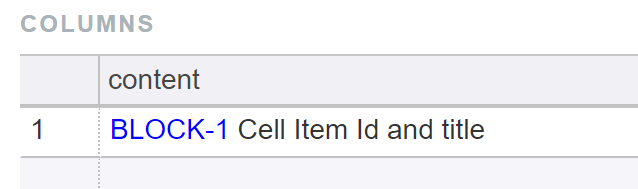
In the COLUMNS Table: Click in “content” and select the BLOCK element “Cell Item Id and Title”
Save the subtable and create a new SUBTABLE element with the same settings, replacing SPEC with TC to show all tests linked to the TC
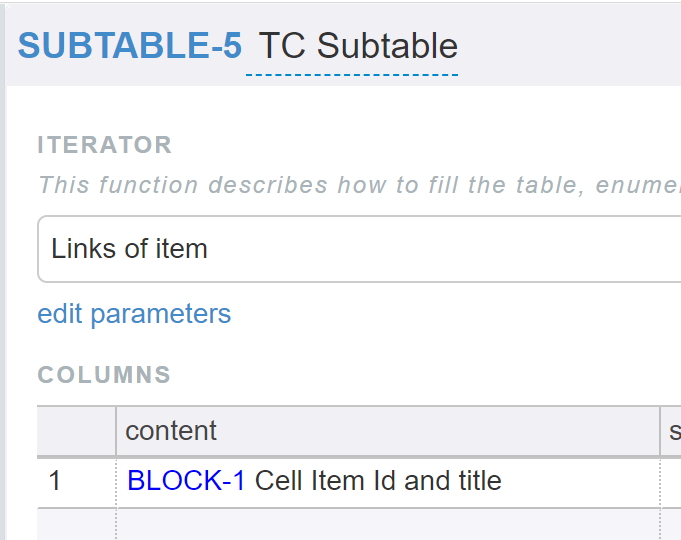
Go back to the SPEC subtable and add a second column, selecting the TC SUBTABLE and setting the sub table index to column 1.
This will follow links from SPEC to TC and use the first column of the TC table as the second column of the SPEC table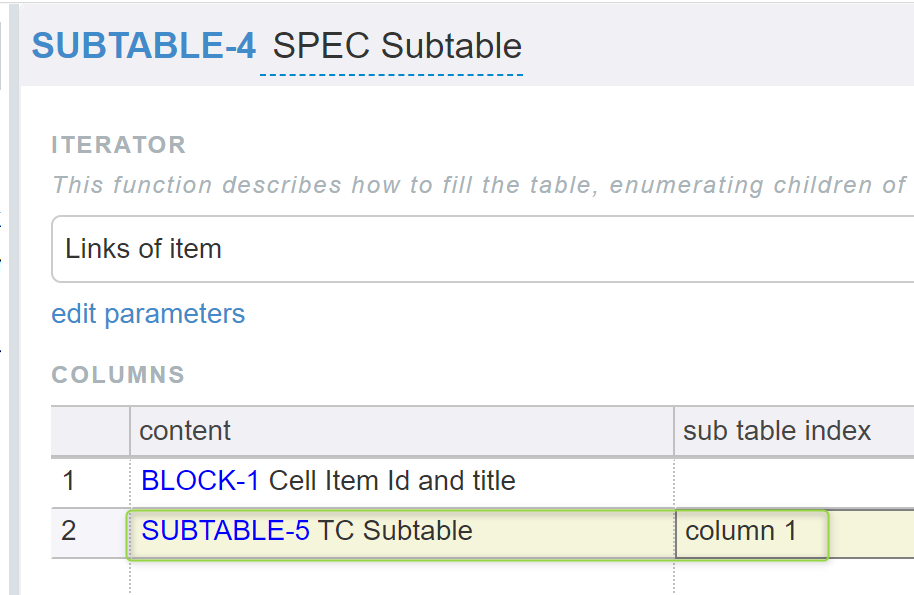
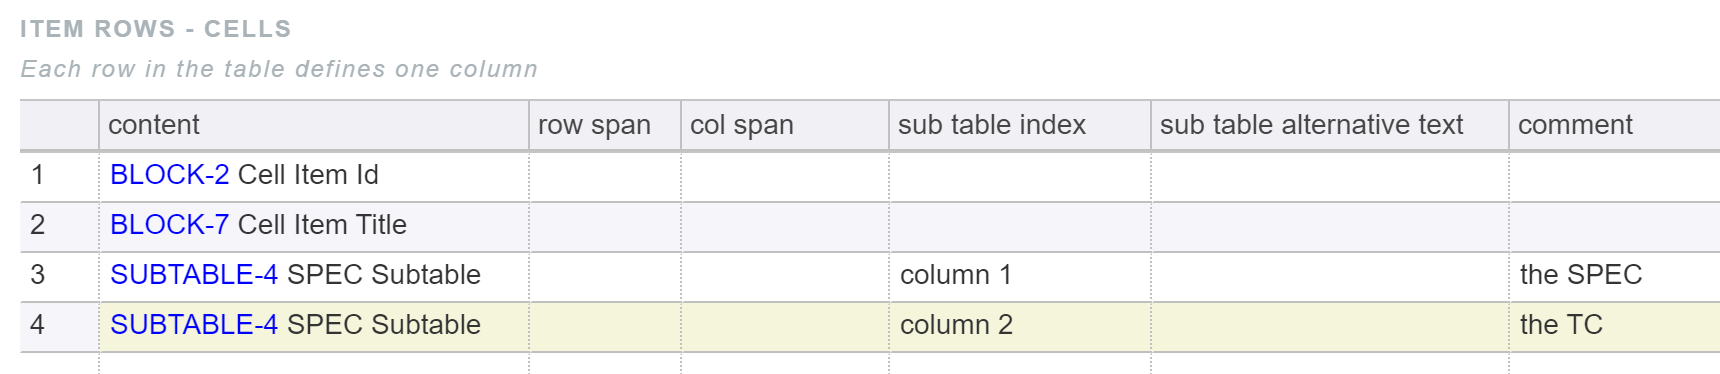
Save and go back to the TABLE and add both column 1 and column 2 of the SPEC subtable.
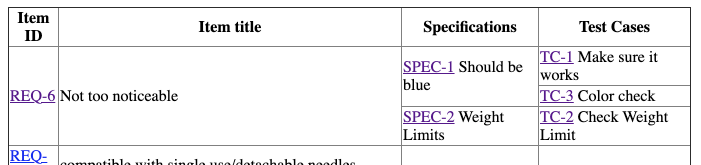
Save the changes and back in the example project press the reselect the new TABLE to update the rendering
Merging Repeated Cells
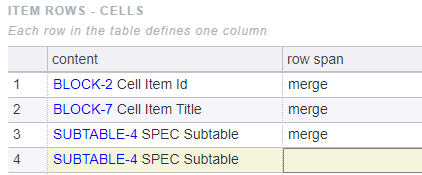
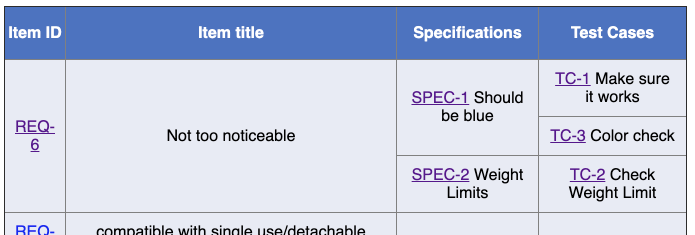
By default the REQ items are repeated in every row of the table if they have multiple SPECs linked. To merge the cells (to see above image), you can in the TABLE items select merge in the “row span” column
Formatting
Column Widths
Since the content in the different columns has different width requirements we will change the default width to make the space distribution look better. The table in the document is based on the header table so all we have to do is modify the width of each of the columns. This can be done by dragging the cell borders, or by editing the source HTML (View → Source Code). If you want exact control using the second approach is more exact since the visual resizing of a column tends to affect the surrounding columns as well. Here is an example HTML for the table header:
<table style="border-collapse: collapse; width: 100%; border-color: #000000; border-style: solid;" border="1">
<tbody>
<tr style="background-color: #c2e0f4;">
<th style="width: 15%; height: 29px;">Item ID</th>
<th style="width: 40%; height: 29px;">Item Title</th>
<th style="width: 15%; height: 29px;">Specification</th>
<th style="width: 15%; height: 29px;">Test Cases</th>
<th style="width: 15%; height: 29px;">Risks</th>
</tr>
</tbody>
</table>
Colors
Open the Administration and go Projects -> [Your Project] -> Project Settings -> Word / PDF Styling
Click on “Customise print styling”
In the dialog define basic styling for the table elements:
table {
  font-family: Helvetica;
  text-align: center;
  vertical-align: middle;
  width: 100%;
}
th {
  font-weight: bold;
  height: 50px;
  background-color: rgb(77,115,190);
  color: white;
}
td {
  padding: 10px;
  background-color: rgb(233,235,244);
}
Close the dialog and reload the Document Page to reload the styling. A preview should now look like this:
Adding complex content
A table can only follow a single chain of links via SUBTABLES since the number of rows going down either chain would be different and such a table could not be rendered. To list other downlinks it’s possible to embed a list of links though
Precondition
In your test project make sure REQ items can have downlinks to RISK items and create a few links
Adding the risk list to the table
Create a new TRACES item called Risk List
Configure the TRACES item to include the RISKs linked from the REQ
For ITERATOR select “Links of item”
For ITERATOR PARAMS set it to show all risks
For UL set
<ul>For LI set
<li>In the ITEM field enter the ID of the “Item ID with Hyperlink + Title” formatter, followed by !, for example:
BLOCK-1!
When saved the result should look similar to this: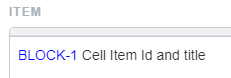
Save the TRACES item
In the Simple List TABLE item add a column for the risks
Save the TABLE, and update the layout. The preview should now look like this:
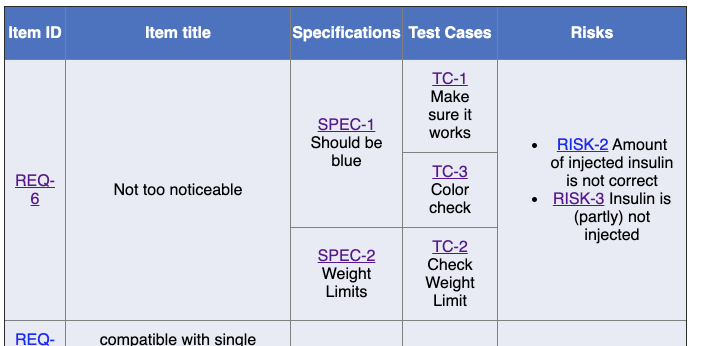
Note: in the image above you can see why you can only follow one chain of downlinks (REQ to SPEC to TC) and the other chain needs to be put in a list, like the RISK items: REQ-6 is merging 3 rows for the 3 linked TCs but there’s 2 RISKs which are linked to the same REQ-6. If you would put them in a row each you would not know that they belog to the RISK but think they belong to a TC or SPEC each.