Automation - Generic Rest Hooks (Connector Plugin)
It is possible to send event to a custom rest url whenever something happens. To enable that you need to got the serer extensions in the admin client
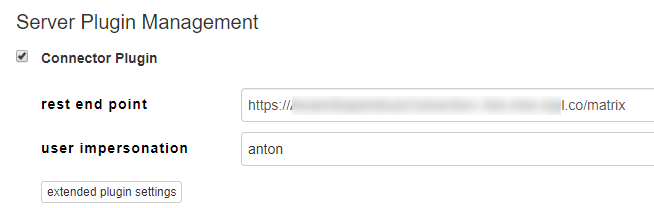
- enable the feature
- provide a rest url
- select a user with (at least read) access to the projects for which the events should be sent
Once you provided the information you need to configure which events should be sent for which projects
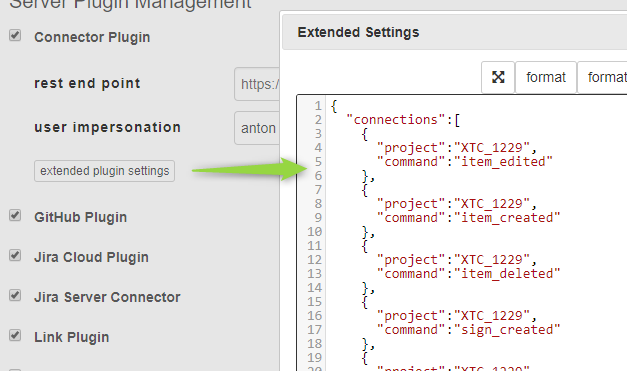
There are these possible events:
- item_edited
- item_created
- item_deleted
- sign_created
- sign_signed_full
- sign_signed_partial
Whenever an event is triggered a JSON blob will be sent to the provided URL, containing some meta data bout the event.
If you need more information processing the event, you can use the rest API to retrieve additional information as needed.
Zapier Integration Example
You can use any type of web application that has a Webhook receiver to integrate. Here's how to use Zapier to write changes into a Google Sheet:
- Create a new Google Sheet
- Make sure it has a header line with one column for each of the fields you want to capture
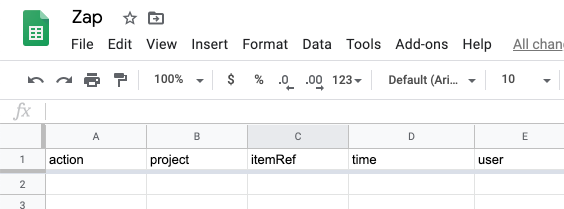
- Make sure it has a header line with one column for each of the fields you want to capture
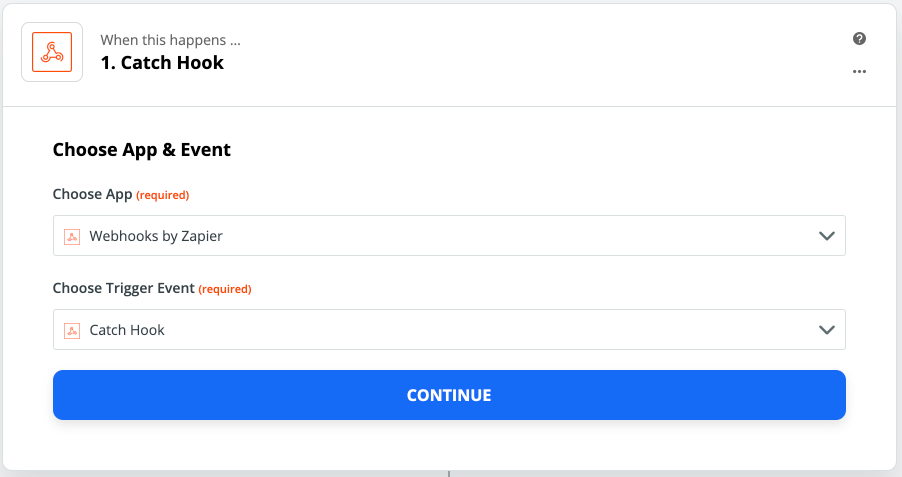
- Create a new Zap
- For the trigger select Webhook and for trigger event "Catch Hook", then click "Continue"
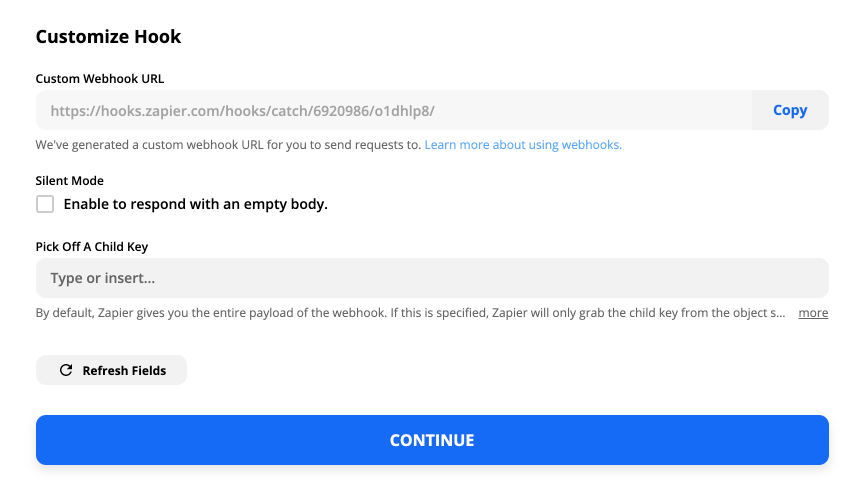
- On the next step, copy the URL, then go into Matrix Administration and paste it into the "rest end point" setting. Make sure you have a user who can see changes and that the advanced setting cover the events and projects you want to get events for. Click Continue
- On the next page press "Test and Continue", then make some changes in Matrix. Once Zapier has got one update from Matrix it will automatically continue to the next step.
You can review the data you get by opening up the Webhook and taking a look at the data it captured: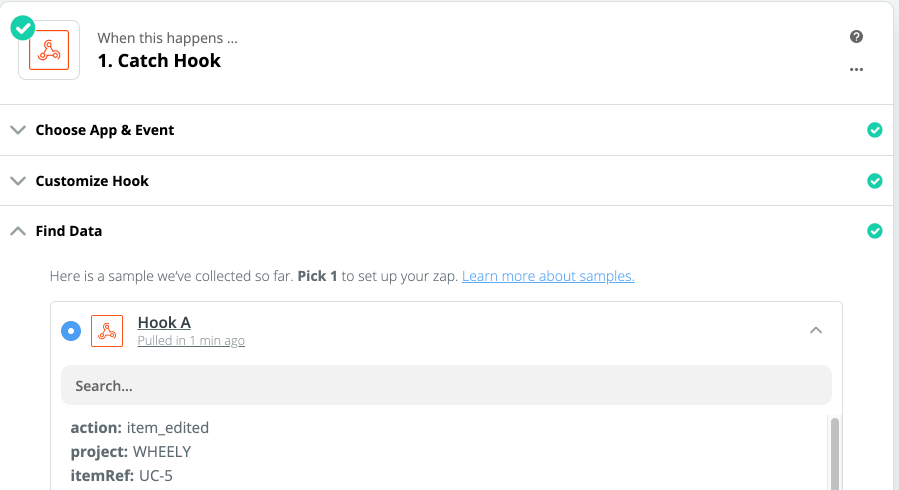
- To publish the data to Google, add the next step and select Google Sheets. In the settings that come up select the following:
- Choose App: Google Sheets
- Choose Action Event: Create Spreadsheet Row
- Continue
- Select and confirm the google account you want to use
- Now select the sheet above, once selected you should see the defined columns as below. For each column search for the matching field in the data:
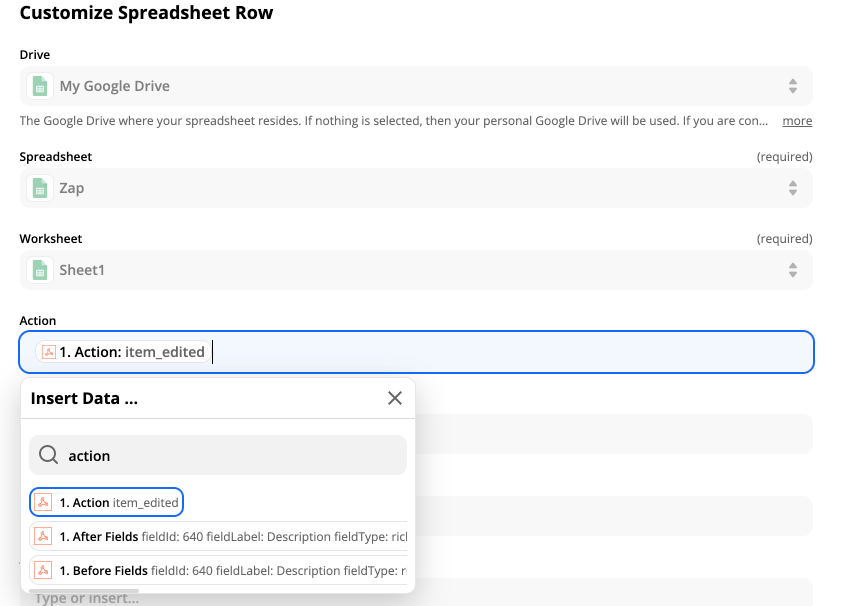
- The result should look like this:

- Once all of the columns are set up, turn on the zap, then go to the Task History of your zap. Start working in Matrix and it will start showing all the incoming messages
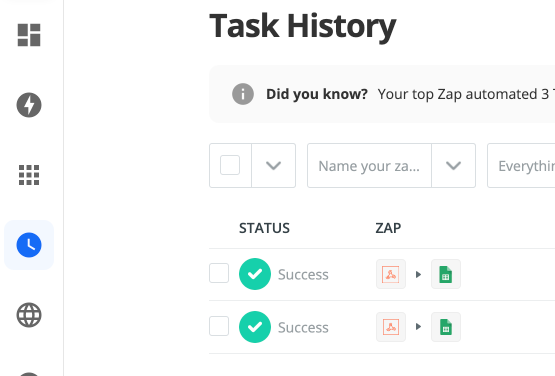
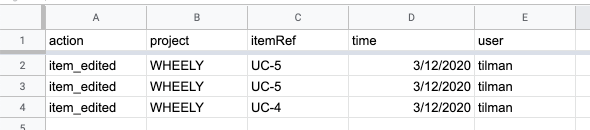
- In the Google Sheet you will see one row added for each change event